
by Matthew Russell - Posted 4 years ago
Welcome, Vigilantes. We will begin our first drawing lesson by tackling the human head in a straight-on view.
Here we will not be talking about the shading line techniques. This is simply drawing the face. I will be using ProCreate on the iPad. You may use anything you have available.
If you are using a pencil and paper, try a 4H or 6H pencil. This will have a much harder graphite core allowing lighter lines. Remember to not push down that hard otherwise you will scar or indent your paper. Let it flow freely.
If you are using an app, change the color to something like blue. This will help you in the end, but more on that later.

To get the basic shape of the head we will start with a circle. You may use anything round as a stencil, just don’t press hard, as I have already warned you.
Directly below that first circle, draw a second one exactly half as big. When you are finished with that, connect the 2 with lines going down the side.
Don’t forget the center line going right down the middle.
Split the center line into thirds. This will be easy; halfway through the first and larger circle and right at the bottom of it as well.
Draw another dividing line horizontally across your new face. This should be halfway between the very top and bottom of both circles.
Draw another horizontal line across the bottom circle. It should be halfway through the circle.
The largest section of the top circle is known as the “Temporal Fossa”. This is the widest point of the head.

Take the center line and evenly divide it into 5 equal sections. If you draw a line straight down each section will contain it’s own body parts.
The first and last sections will encompass the cheekbones. The next sections going inwards will accommodate the eyes. Last but not least, the middle section will house the nose.
Draw an almond shape that sits on the centerline. Yes, The eyes sit on top of the line.
Take the height of your eye and add it to the bottom of the large circle. Now you have the perfect rectangle to place your nose.

In the eyes, draw another circle. This should be a little larger than the eyelids, that is what we have already drawn. For simplicity's sake, I have placed the bottom of the iris on the bottom line for the eye. This rarely happens in nature, but it makes it easy to draw. Normally it will sit a little lower than the eyelid.
Take the center of each eye and draw a line straight down, vertically on your paper. On the halfway line of the second circle, you will place the mouth. It goes from the centerline of the eye to the other eye directly on this line.
From the top of the mouth to the bottom is roughly the same height as an eye.
The chin is just another circle that takes the rest of the bottom half of the bottom circle. Wow, that sounds more confusing than it really is.

Let's start this stage out by drawing a horizontal line from halfway from the bottom of the eyes to the center of the large Temporal Fossa. Extend this line out past the head. This is your “Brow Ridge” line.
The tops of the ears start on the “Brow Ridge” line and go to the bottom of the nose. In a perfect world, the width of each ear is equal to the height on one eye. It turns out that the eye plays a big role in the face.
The neck comes down in a generally straight line from the bottom of the ear. The female form tends to curve inward slightly, and the male bends outward. This is not always the case, but while drawing a symmetrical generic face, curve it accordingly.
Now, moving back over to each eye, place some hair on the brow ridge. It should extend a little past each eye. Be careful not to give your face a unibrow.

Most people (myself NOT included) have the same hairline. Start by taking the height of one eye and adding it to the top of the Temporal Fossa line. This point marks the beginning of the hairline.
To make it more natural, give this line a slight curve much like a widow's peak.

As many of you can see, we are really seeing a face beginning to emerge. If you followed the directions at the beginning and used the right pencil for the job you can now switch to a much darker pencil. My recommendation is 2B.
For those that have been using an app like ProCreate, add another layer and switch to black or grey. This will help you with this final layer.
Now, trace over all the general drawings that you have already made. Skip the horizontal lines such as the Temporal Fossa and the Mouth line. Also, skip all the lines that run vertical such as that coming from the center of the eyes downward.
Once you have all of your actual face lines in place, turn off the back layers. If you are using paper, you can either erase the guidelines or leave them there, personally, I leave them in place for simplicity reasons.
Looking at what I have drawn, I’m noticing that this face looks rather melancholy. I tried not to add any emotions into this face, and by doing so, made him look almost distraught. I also choose to keep him bald for simplicity sake.
Sidenote: No face is perfectly symmetrical. It is the little nuances and oddities that give us beauty. Slight tweaks every now and then make us human. Draw them as such. Learn to recognize this in your subjects and you will begin to have an amazing career as an artist.
When you get a good handle on this project, try it time and time again. Eventually, you will sit down and not need the guidelines. You will just know that they are there and can “eyeball” it.
Now Let's turn off the back layers and see what you came up with.

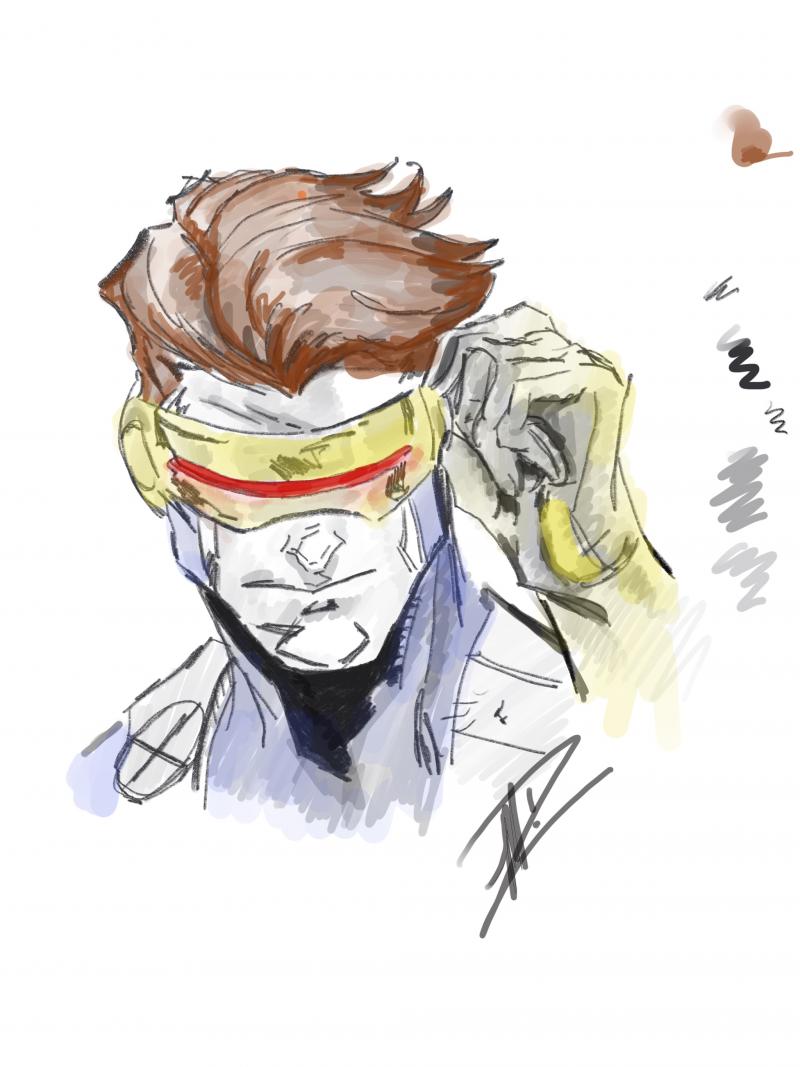
This last picture took me about 10 minutes to draw it and color it. I have had enough practice that I don’t actually need the guidelines and also know how to tweak it accordingly.


