
by Matthew Russell - Posted 6 years ago
Welcome Vigilanties, one and all. For your amusement and learning potential, we are breaking down “Vanishing Points” for the layman. We use actual English to describe how to best use them in your artwork.
When I was going to school at the Art Institute, our teacher droned on and on about Vanishing Points. She gave us this overly complicated definition that we had to memorize for a test. Let me start by explaining what they really are.
By definition: It is a point on the image plane of a perspective drawing where the two-dimensional perspective projections of mutually parallel lines in three-dimensional space appear to converge. Blah Blah Blah.
Let’s break it down. When drawing 2 parallel lines on perspective drawing, these lines will get closer to each other the further they seem to be. When they touch on the horizon, this is a “Vanishing” point.
I’m sure that you have seen these before. Have you ever seen the quick drawing of a railroad track? There you have it. If not, look below.

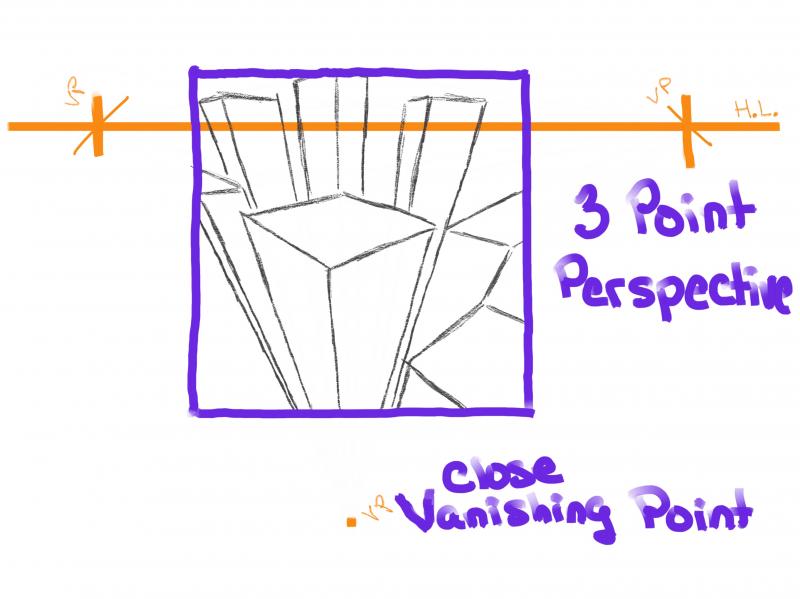
Here's the kicker, you can have more than one. This will give your true depth to your image. We can start by looking at boxes and move up from there. Eventually, you can make entire cities, or some of the most in-depth hand lettering you have ever seen, or a grand castle from a unique angle.
Today, we aren’t going to push it that hard. I want to look at a box. This is known as the “2 Point Perspective.”
As usual, I will be using the app ProCreate. I love this app due to its layer capabilities when drawing. You can always use paper, just remember to not draw too hard and use a hard pencil such as an h4 or h6 for your guides.
Begin by drawing a straight line. This is our eye level or the “Horizon Line” that we talk about so much. Basically, it is the physical boundary where the sky separates from the land. On a flat plane (no, this has nothing to do with flat earthers) such as the ocean, the horizon line is the curvature of the earth.

Remembering our lesson on the “Rule of 3rds”, avoid drawing the horizon straight through the middle of our page. This will keep it from looking realistic. To have enough workspace and really learn the concepts, let's bring the horizon up to the top ? of our paper.
This will go straight across the width of your paper. This drawing can be done with a darker pencil such as a 2-4B. It is the main feature of your image so feel free to go darker. The only reason that we can do a darker line here is because this will be an “outside landscape” for learning purposes.
While drawing an interior view such as a kitchen, we would NOT add the horizon line with a darker pencil as it is just placement for our point of view (POV). Check out the drawing below to see the horizon line on an interior view.

On this line (towards the outsides on each side) pick a point. Switch back to the lighter pencil and make a quick tally mark across the horizon line. These will become your 2 vanishing points.
Now that you have your vanishing points, we need to pick where our cube will be. Draw a line vertical line somewhere below the horizon line. Not to low. The lower you draw this the more extreme the image will look.
Sidenote: Drawing the vertical line above the horizon line will indicate that it is up in the air. Since we are working on comics, this at times might be appropriate, but not for today’s object lesson. Keeping that in mind, let's drop it below for now.
Draw a straight line from the top of the vertical line to each of the vanishing points. This should give you a “V” shape.
Draw another set of lines from the bottom of the vertical lines to the same vanishing points. Now you will have a sharp-looking boomerang.

Decide how wide you want each side to be and draw 2 more vertical lines to the side of your box. They should not exceed the top or bottom of the lines going from the top and bottom of the box to the vanishing points.
From the top of each of these lines draw another straight line to the vanishing point on the opposite side of the paper.
Now you should have a misshapen diamond (or a squashed diamond) on the top. This is the top of your box. Trace this, along with the bottom to give yourself the perfect 3D Cube.

The easiest thing to do to add more is to simply repeat the process with another cube. Remember where you set your ground to be and you will be fine. If it looks funny to you, straighten out your lines and you will be fine.


