
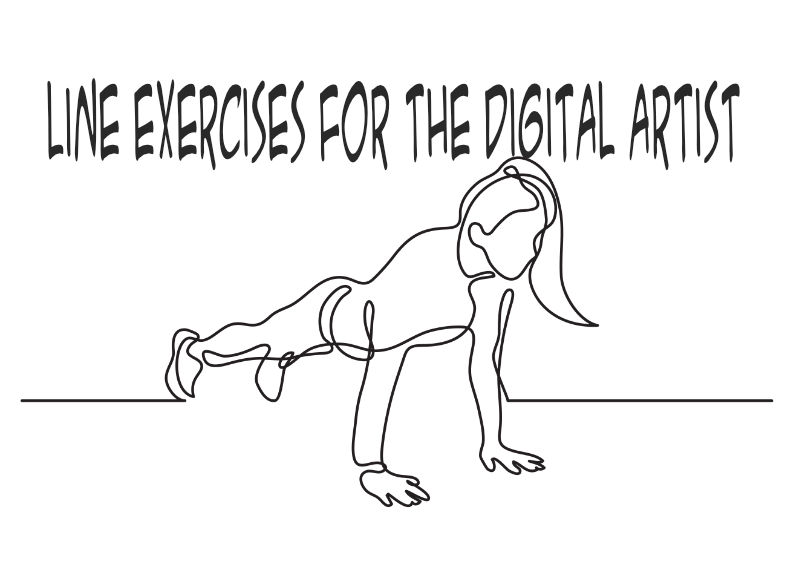
by Matthew Russell - Posted 6 years ago
What Up my Vigilanties! How y’all doing today. I wanted to sneak out of all the meetings and various duties (I said duties) to act a little childish and get in some drawing exercises.
As I was doing my daily exercises, someone asked me what the hell I was doing. This gave me the idea of writing this blog and sharing some ways to give all of you great confidence in your linework.
Really, you are actually asking me that!?! The same way an artist would practice their figure drawings, or their shapes, our line work needs to be at the highest levels in order to make great art.
For this project, I am using my Dell Computer with a Wacom tablet instead of my iPad and Apple Pencil. This forces me to not look at the screen that I am drawing on and teaches better eye-hand coordination.
I recommend doing all of these at least once a week, starting now and going forever. You will be building much better line control, confidence in your lines, precision, and most importantly muscle memory.
Let’s start off with an easy exercise.
For all of these, I will begin by opening up Photoshop and creating a new document at 11 inches by 17 at 300 ppx. The background will be white and my color mode will be RGB. I won’t need to print this out, but I want to have enough workspace and pixel density that it is not getting all pixelated on me.
Once I have created the document, I want my brush at hardness: 100% and the size at 15 px.Make sure your pressure sensitivity is turned on. This will be the key to everything.
Make a new layer and we can begin drawing.
Draw a line straight down the page with varying pressure sensitivity. Keep a good even pattern. Make sure the line is close to the left side. This will give your line several strange bulges where you added the extra pressure.
You will also learn to keep your line straight as well as you gently glide down the page. It’s harder than you think. Also, you will learn to go at the same speed throughout the line.
Next to that line, draw another line with varying pressure. Try to make it the exact opposite as the previous line so that the bulges fit into the groves. To accomplish this you will need to keep the same speed.
Once you have completed that step, draw another line to the left that is close to the same as the first line you drew. Repeat this pattern to fill the entire page.
When you have completed this exercise, turn off that layer and create a new one so we can move on to the “S-Curve”.

This is a variation of the Zebra line. We will make a wavy line starting from the top left. It will swerve in an “S” formation all the way down.
Vary the pressure that you are using to give it a strange look. Almost like a snake that has eaten something.
Next to that, repeat the process again and again until the entire page is filled. Just like the Zebra, we want the opposite amount of pressure from line to line. Also, keep in mind, your speed must be consistent.

This is a tricky one. When you have finished the last activity, start a new layer (turning off the last one. You will be completing each exercise on a new layer each time and turning off the last layer.) and do everything again...but with a twist.
Keep the pressure sensitivity turned on, but try to keep the sensitivity the same throughout. This will teach you muscle control. If your line thickness is the same on every part of every line, you are a machine. No really, you are an android and not human. This is impossible for a human to do but it does teach you to get better as you practice.

Start on the top left and draw a quick circle that is about the size of a quarter. Work your way to the right. Make each circle as perfectly round as you can without sacrificing speed. Speed is the key to this exercise. Try to get them as uniform as possible.
Make sure that the stopping point meets up with the beginning point. This will make the circle look as seamless as possible. When you get to the end of the page, move down and create another row. Try to make sure that each row is even. If you need help use a guideline from the ruler.

No, I am not talking about circles that are in touch with their feelings. You are going to repeat the last exercise but this time they will be weighted on one side.
The first row should be weighted on the right side. The second row should be weighted on the right. Keep this up until the entire page is full.
With this exercise, you will not be able to go as fast, but you can build up speed.
Here it comes. Everyone in the office is gonna make fun of me for this one. This is the one I am worst at. It always looks like I was going WAY too fast.
Place a dot somewhere in the middle of your page. Draw quick peddle shapes coming off of the dot. THis one is all about speed. Make sure each peddle is about the same length and width.
This is the one that I struggle the most with because I rarely gauge my peddle width correctly and don’t have enough room to fit them all in perfectly. This is designed to help you with size up your shapes as well as making the quick smooth lines.

This one is my favorite. It takes a lot of practise to get everything uniform. You will start almost at the top of the drawing board at the left side. Start with a heavy stroke and then quickly move down and lift off the drawing board. THis will give you about an inch long line.
Add more to the right and fill up the page. Use a guideline if you have to as a crutch for now. Eventually, you can stop doing that.
When you have filled up the row completely, move down and start again but this time from the right side moving left. If you are right handed, this will cover your previous marks, forcing you to start trusting your instincts to get the line right.

Remember to not go back over your lines to fix anything. Be quick. It shouldn’t take all day. If you screw up, then no one but you will know. I bet if I gave these exercises to Jim Lee, he would have a few mistakes (probably less than me). NOTHING HAS TO LOOK PERFECT!!!!!
You don’t even need to save the images. They are just exercises to build yourself up. If you want to see your progress, save it as a psd with the date (ie: 3-9-2020.psd) so you can open it up after a few months to see your progress. Also, time yourself. I bet that even if your lines don’t drastically improve, your time will. The faster the artist, the more work they can get done. This means more productivity and more money. Good luck and let me know how it goes.

