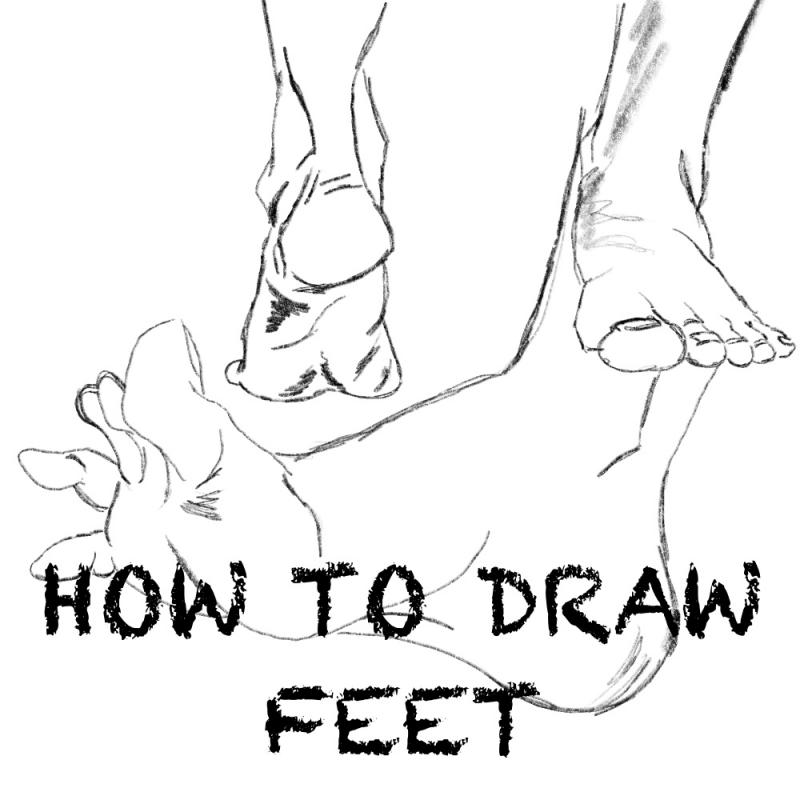
Welcome my CryptoComic Compraitriots. I wanted to teach you something quick and easy today; How To Draw Feet. This topic has been a hot topic amongst us here at CryptoComics. One major creator is known for not having this ability so we wanted to address it today.
The foot can be pretty difficult to draw, with the addition of ALL the bones, fat pads, tendons, and muscles. Plus it is rarely seen straight on, depending on the main perspective angle.
There is an even bigger challenge with comic books; flying heroes tend to be above the perspective plane, kicking tightens the tendons, plus the addition of some pretty crazy boots (think Batman or Wonder Woman).
That, of course really only applies to the superhero or Action/Adventure Genre. You rarely see some crazy feet in historical, romantic, or other realistic genres. Yet feet are ever important, obviously.
So today we begin. Below are some reference images; 1 being bones in the foot. The other is the tendons and meat of the foot.
Top perspective
The easiest way to get good at this is simply take your shoes off and look down.
The toes will naturally slope away from the ankles in this perspective. Start by drawing the circle representing the ankle. Draw 2 lines coming off the top at slight angles veering away from each other slightly to represent the leg.
From the bottom of the circle, two more lines, again moving away from each other. The inside of the foot is a much straighter line. Add a small bar for toes.
Next, you will take the bar and divide it for the toes. Remember that the bigger toe takes up much more room so you will have to eyeball (guess) the width of the toes.
Last but not least, we smooth everything out. Take the outside of the circle and use it as ankles. Add the small ball of the feet. Separate the toes and add the toenails. Round out the outside of the fat pad along the outside of the foot.
After everything is done, begin your shading.
Inside perspective
You might need another model for this. When asking for a foot model, don’t get weird. This could get bad fast.
This is based on a triangle and a couple of smaller circles.
I like to start by drawing the legs coming off the top circle. Also draw the back of the foot like connecting the ankle circle to the heel circle. You will make a triangle with the width being roughly the same size as the subjects face (assuming it is shown).
I like to give it a small bevel on the toes. This is where the toes connect.
Next I add a little perspective by showing the top of the foot. I do this by creating another smaller triangle as shown above. Extend the top of the triangle slightly and give the outside a small add on to the width. This can be divided into the remaining toes.
Remember that less of the toes are shown at the top than at the bottom so no need to divide the toe box equally.
Give the bridge of the foot (top) a slight wave. This will give you a small mount towards going up towards the ankle.
The bottom of the foot should also get a wavy line. This shows the ball and arch of the foot.
To follow this all up, slightly flatten the heel of the foot. It is a fat pad, after all with years of abuse. It won’t be perfectly round anymore. Picture it as a warn out basketball with some of the air let out.
Now onto our final rendition. Use shading to indicate the ankle. And the inside of the foot. Shade along the instep highlighting the arch.
The big toe comes directly off your original top line of the triangle. It is not an abrupt line. There are no har lines in nature. Shade this to indicate, not force.
Don’t forget to draw some quick lines to indicate the knuckles on your toes (unless you are drawing hobbits, then this is where a patch of hair goes).
Underside of the foot
This is a strange and harder to draw pose. Lets start by drawing our first circle. This will end up as the heel so draw it lower in your paper.
Next we move onto the sides of the feet. I am eyeballing it here but it looks like about a 30 degree angle on both sides. As you can see, the left side is a little longer. They both protrude outwards.
Now I will draw 2 vertical lines at the same angle that go inwards. These are about the same length. When done with that, give the top of the foot a slightly curved line from the left top of the foot to the right.
Draw a line (only slightly curved, if curved at all) about halfway through the left top vertical line to a mark about ¾ of the way up on the top right vertical line. This will give you your toes.
Divide the toe spaces into 5 toes. Remember that the big toes are larger and they get smaller and skinnier as you move to the outside.
Next draw a dividing line straight up from the middle of the heel. You will use the right bottom outside line as a guide.
From the left outside of the ball, draw a parallel line upwards until it meets the dividing line and then round it back to the outside of the foot. This will give you the perfect instep of the foot.
Now to smooth out the foot. Extend your instep line to add a little depth. Draw out your toes. I like to add an oval and then a line connecting it to the fat pad under the metatarsals (bones leading up to the toes).
There are 2 fat pads that sit on those bones. The first one covers the ball of the foot and the second (separated by a small tendon) follows along the bones all the way to the other end of the foot underneath the pinky toes.
You should clearly see what makes a footprint here.
As you can see, I have a section on the outside of the foot on the left side marked “important”. Typically to indicate male or female footprints, this changes. Males tend to extend outward, and females go inward. I have both drawn out here.
Of course, this is not always the case, and in now way saying anything about gender. I don’t care what a person identifies as. When I’m drawing feet, it's just that, feet.
Angled view
This is the hardest to master; 3D will ways be more complex that 2D. The sad part is that even I am unhappy with this drawing, but for the sake of time, here you go. I wonder if this is why people always make fun of superhero feet (you all know who I’m talking about).
Let’s start with our ankle circle as well as our heel circle. As you can see, the heel is almost directly under the ankle.
From the middle of the ankle circle, I can start my triangle for the top of the foot. At the bottom of the triangle, draw a line connecting the triangle to the bottom of the heel circle.
Now we can start adding the smaller details.
Along that bottom line under the further most side of the heel circle, have our bottom line come up slightly. This will help separate the heel from the arch.
Draw your dividing line for your toes. Once again, remember that the big toe is, well, bigger.
Let’s get into the finer details. Make your bottom line wavy to show off the fat pad under the big toe. Just like the bottom of the foot, there is a small fat pad on top so your toes fit into that nicely.
Take the top of the foot and bulge it slighly to indicate the existence of an arch. This is tricky due to the fact that a little goes a long way, so if you add a larger arch it will look like something out of a Cinderella Horror movie.
Now your ready to add your shading.
Back of the foot
This is, in my opinion, the easiest. Although I tend to over think it, I don’t have to draw the toes. The bad part is, if done wrong, it could look like your subject is standing on a stump.
I start by drawing a single larger circle. No ankle circles yet. Draw the lines for the leg coming off of this. Complete it with a triangle off to the side. Now it will look like an upside down bird’s head if a 3rd grader drew a bird.
Now it gets strange. Add 2 circles roughly the same size at the tip of the triangle and another one nestled on the opposite side under you large circle.
Add 2 slightly longer ovals to the top of this sircle to indicate the ankles.
I personally like to divide my triangle by adding 2 overlapping ovals. This will give you the full shape of the foot.
Let’s finish our picture by smoothing out the lines. The leg should go straight into the ankle and then down along that first dividing oval on the left side.
The right side should follow the same pattern and incorporate that smaller circle that we added to the bottom right. This will give you a sense of realism as that fat pad on the heel has been worn down over time. The bottom of the foot is almost flat.
Add that smaller section to the left from your second dividing oval in your triangle. This will complete the outside of the foot. All that is left is to add the nub of the pinkie toes that you can barely see.
When adding your shading, as you can see, I have highlighted the Achilles’ tendon as well as some age lines along the heel.
Now that you are done, don’t forget to practice, practice, practice. You can only get better at it if you keep it up and keep trying. I hope to see your work in the
Marketplace soon.


