
by Matthew Russell - Posted 4 years ago
Welcome, my CryptoComic Compatriots! You made it to part 2, great job. We are studying the fundamentals of art in this 9 part series. If you haven’t read The Fundamentals of Comic Book Art Part #1 yet, please do so now. Don’t worry...we’ll wait.
Ok, so now that your back and you know exactly what we are going to be studying and when, so let’s jump right in.
We need to break everything down into simple and sweet geometric shapes. All our characters can basically be broken into shapes.
First thing I do is start with some sort of reference image, whether that be a picture that I took, a paused video that I shot, or some sort of moveable/poseable design doll. I myself, have 2 PVC Figure Models (1 male, 1 female), and a hand. I picked them up on Amazon for about $50 each (link below).
Once I have the poseable models laid out, I break it down into some basic shapes. I like to start with a stick figure, but we will get more into that with our gestures post (coming soon). I start with the head. That is basically just a circle. The neck is a simple square (or rectangle). The arms are also rectangles, with the joints being small circles.
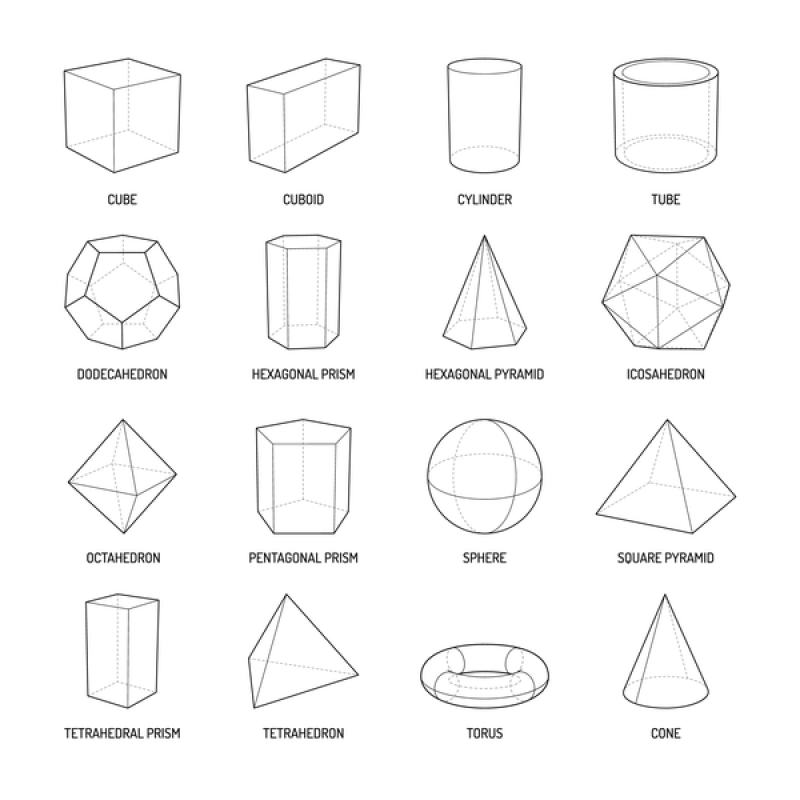
You can break down any reference image into shapes listed below.
- circle
- square
- rectangle
- triangle
- cones
- cylinders
- ovals
These are typically shapes that we master even before kindergarten. My children had basic shapes toys long before they learned to walk and talk. They would place these shape blocks through holes shaped exactly like the block they were holding.
Eventually, when they would start drawing and finger-painting, they naturally broke down everything into shapes; circle for a sun, square for a house, triangle for a roof, and so on. This is natural, but as we begin our art career, we tend to think that we are beyond this and forget. A true artist will go back and relearn this and actively incorporate this into their art.
Well, yes and no. At this point, you are simply doing your outline. There is no need for anything other than a flat image.
As you progress, you will start seeing things in slightly more complex shapes. The bicep for example no longer is a rectangle. Now you see it in 3 dimensions as a cylinder. Let this come naturally with practice. Don’t rush it. It will not improve your art at this stage.
It will have an effect later in your art when you get to steps like shading, but for right now, keep it flat and easy. KISS Keep It Simple Stupid!
Before we get into something as complex as a human body, let’s take a look at this still life. We are Keeping it Simple here.

This is in no way a finished piece that I would be showing off if it were not for being a speedy tutorial, so please don’t judge. I also hate drawing flowers. They are far too delicate for me. It’s not that I don’t like flowers, they are just something that I struggle to draw, so I am trying to practice them more.
The picture above is my project but we are only worrying about step 1 for now. As you can see, I started with a simple rectangle and then brought the lines in towards the middle to get the top of the base.
To explain all of this, please refer to the drawing above.
1-Look at the reference you want to draw. Determine what basic shapes are needed to draw your picture.
2-Start by locating where on your paper you want the object to appear. This will play heavily in later lessons where we discuss things such as perspective, layout, and design. For our purposes today, let’s keep it in the center of your paper.
3-Draw a centerline, top line, and bottom line. This will help you to keep everything in perspective and allow you the best results. By breaking it into several shapes, you can focus on 1 at a time instead of the piece as a whole.
4-Draw in the basic shapes. Yes, this is rule 4 because there was some basic prep work before that we could not ignore.
5-Pick the lines you want in your final pass. Basically, get rid of everything that is not needed. This means that you are basically combining the shapes into 1 cohesive drawing.
6-Take another go at it. This does not mean grab another paper and draw it again. This means that everything you have done so far has been nothing but a base layer to start with. When you have something that you are happy with, begin to go over it and give us the final render.
If you ever notice, many artists will use a blue color pencil for stages 1-5, and then switch to a regular pencil for stage 6. Then they pass it off to an inker (who really finishes stage 6 for you).
Find some very basic shapes and start to draw them. Every so often when I think I am getting far too high and mighty (I start to think I can draw anything), I do a few quick still-life images.
Don’t just grab a vase, a boot, and some other random things and start to draw them. I have Styrofoam shapes that I use. A long time ago, I was working at Michael’s Art Supply store and picked up some basic white Styrofoam shapes such as a cube, cone, cylinders, and some other shapes. I like the white because I can better see the imperfections.
Arrange them in some new ways and begin to draw. See how they relate or overlap with each other. Master the shapes. Whatever you do, don’t go too heavy with your pencil marks. Keep it light.
Here is an Army Recruitment poster that I have broken down into basic shapes using the Procreate app. I love how the layout is a comic panel layout.


Get some practice and then you are ready. Just remember, the best artist always go beck and re-practice every fundamental of art. Once you have it down, go back every once and a while and rethink how you do it. Truthfully, there is no such thing as a master, even Di Vinci had to practice.
Take your basic shapes and let’s move onto Perspective. Join us in a few days as we take a look into a perspective drawing. While you’re at it, start building your living journal in our marketplace so that you can see your progress as you get better. Never throw away art that you don’t like. Use it as a tool to better yourself.


