
by Matthew Russell - Posted 5 years ago
Welcome, my CryptoComic Compatriots! ProCreate is full of hidden features, making this far more robust than initially imagined. What are these features? How do you unlock all of them in order to make your comic stand out?
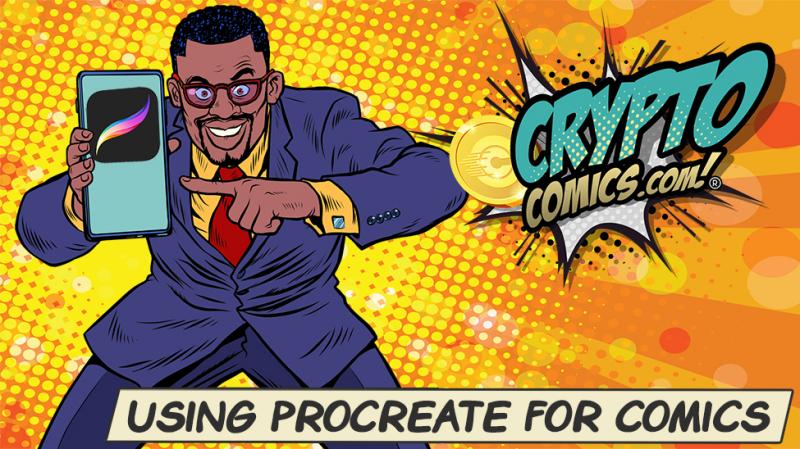
Procreate is one of the greatest tools for art. I personally use it to do all of my inking and coloring. I still struggle to get away from the traditional paper and pencil for the initial drawing, but I’m learning.
This app (only found on the Apple Store) is a game-changer by design. This app appears to be relatively streamlined for beginners but it is hiding some incredible hidden features. It has won several awards for its ingenuity and innovations as well as its ability to use the Apple Pencil seamlessly.
I’ve been using ProCreate for about a year and a half now even though it came out in 2011. I guess I’m a late adopter here, but since I’ve started using it, I am able to do some of my best work.
I don’t have to worry as much about a steady hand, or if I make a mistake. Picking a color scheme doesn’t feel so permanent.
In doing research for this article, I found out that ProCreate was created by a small startup company based out of Tasmania. This doesn’t have much to do with anything, I just thought that it was cool.
You can create new canvases as well as adjust old canvases in ProCreate. This will help you create art of any size. You can even create preset canvas too.
I suggest creating a canvas that will allow you the full capabilities of ProCreate for creating comics. The traditional paper bristol board is a standard 11in X 17in. It will have a 10 X 15 ? bleed and a 9 ¾ X 15 in trim line and a 9 X 14 ¼ safe area.

For more information on this check out Page Sizes with Crypto Comics from a year ago.
I personally created a standard 11 X 17 in that has a resolution of 300 dpi. Keep the background white. I then saved it with the title “Comic Page” so I can use this as a standard page.
For my first layer, I will insert this standard Bristol Board that I have created and saved to my photos. This gives me all the standard bleed, trim, and safe area along with general info. Click the link below for the downloadable template.
When drawing, if you have a section that is completely closed off, you can easily fill that area. For example, draw a square.
Touch and hold the color in the top right. Hold your finger or your pencil down until the icon slightly moves. Without letting go, drag this color to the center of you space that you need filled in.
Pause long enough for your iPad to recognize that this is where you want to drop it. It will fill in automatically. You’re still not done so don’t lift your pencil yet.
If you lift up your pencil, there will be a strange inner outline (best way to describe it) that you need to get rid of. If you let go now, you will have to take your pencil and go back over it to get rid of the outline.
If you didn’t lift your pencil after it filled in, drag it to the right until the entire area is filled in completely. This is known as the “Color Drop Threshold”. Use this if your paint bucket spills onto the rest of the canvas.
Check out this video for a little bit of help using the Color Drop Threshold.
Alpha lock makes it so that if you have already drawn on a layer and you want to add stuff like highlights or shadow to the preexisting drawing without going over the lines, you can do so.
Either click the layer name and it will bring up another menu, find Alpha lock and click it, or on the layer name swipe 2 fingers to the right and it will lick the layer.
This next video shows you exactly what Alpha Lock looks like and how it’s used by shading a leaf.
Did you know you can export a time lapse video of your drawing!?! How cool is that!?! In order to save room on my iPad, I personally do not typically use this feature. I might have to one of these days so that I can do an entire tutorial through the iPad and not have to write everything out.
Check out the time lapse feature in action on a crazy cool Batman.
There are so many gesture controls that I find new ones all the time, sometimes by accident. There is no way I would be able to tell you all about them or give you a list, so, another video it is.
I love this one so much. She gives such concise and easy to use info.
You will start using these so much that they will become second nature. I hate to say it but the other day I was drawing on paper. I accidentally started to try the pinch to zoom. As soon as I realized what I was doing, I felt so stupid.
We aren’t done. I am working on a coloring tutorial with ProCreate so I just wanted you to get familiar with the program. Have some fun. Get messy. Don’t forget to show us what you’ve created by making a Living Journal. Just drop it in the Marketplace and don’t forget to share it with me. I can’t wait to see it.

